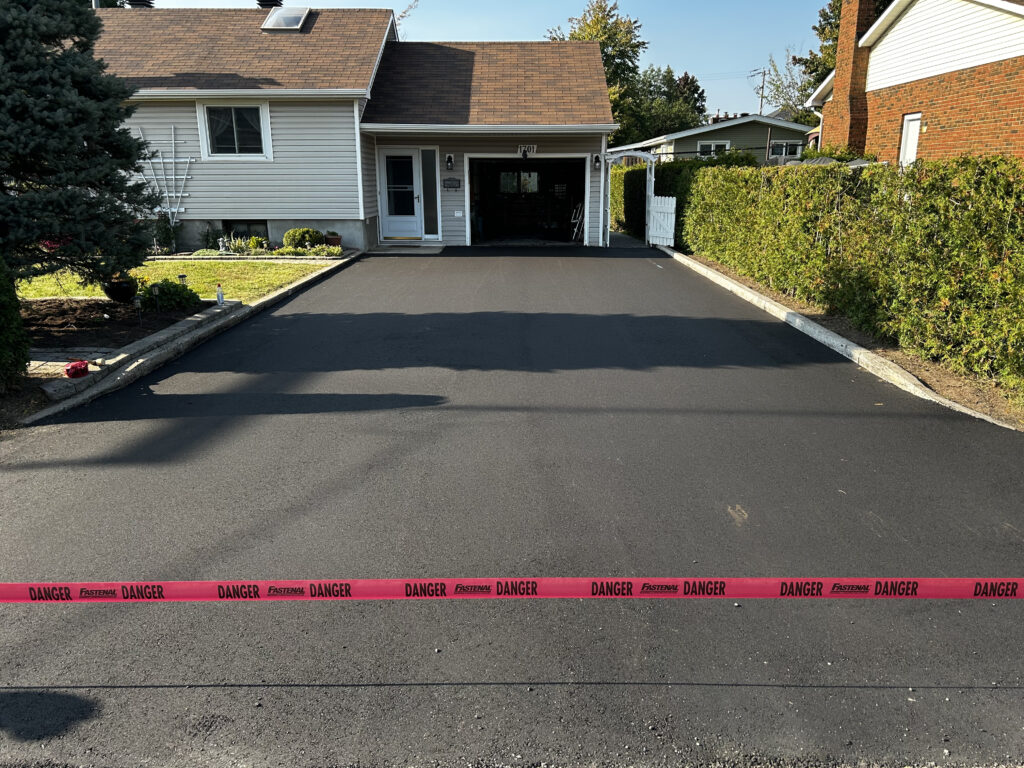
The Driveway Paving Process: Transforming Your Home’s Entrance With A New Asphalt Driveway

Your driveway is not just a practical necessity; it’s a focal point that can significantly impact your home’s curb appeal. Over time, wear and tear can take a toll on your driveway, making it necessary to consider a replacement. In this blog post, we’ll take you through the steps of the driveway paving process, focusing on the transformation that occurs when replacing it with a sleek, durable asphalt surface.
Freshly paved driveway with caution tape

Step 1: Assessment and Planning

The journey to a new asphalt driveway begins with a comprehensive assessment of the existing one. A professional paving contractor will evaluate the current condition, looking for cracks, potholes, drainage issues, and any underlying problems. Based on this assessment, a plan is developed, outlining the scope of the project, necessary repairs, and the type of asphalt mix that will best suit your needs.

Man inspecting a driveway before work is done

Step 2: Site Preparation

Before the new asphalt can be laid, proper site preparation is essential. This involves removing the existing surface, whether it’s asphalt, concrete, or gravel. Excavation is performed to create a stable foundation, and grading ensures proper water drainage away from the house. Any soft or unstable areas are addressed to prevent future settling.

Step 3: Installation of a Stable Base

A strong and stable base is crucial for the longevity of your new asphalt driveway. Layers of aggregate, typically composed of crushed stone or gravel, are meticulously compacted to create a solid foundation. This base provides the necessary support and helps prevent issues such as sinking and cracking.

Two men finishing paving a driveway

Step 4: Applying the Asphalt Mix

With the base in place, it’s time to lay down the asphalt. The hot asphalt mix is carefully spread and leveled using specialized equipment. The thickness of the asphalt layer is determined by factors such as the expected traffic load and local climate conditions. A smooth, even surface is crucial for both aesthetics and functionality.

Step 5: Compaction and Finishing Touches

To ensure the asphalt sets properly, it’s compacted using a roller. This step also helps to eliminate air pockets and achieve the desired density. Once compacted, the surface is left to cool and harden. Finishing touches, such as neat edges and transitions, contribute to the overall polished look of the new driveway.

Step 6: Curing and Sealcoating

A strong and stable base is crucial for the longevity of your new asphalt driveway. Layers of aggregate, typically composed of crushed stone or gravel, are meticulously compacted to create a solid foundation. This base provides the necessary support and helps prevent issues such as sinking and cracking.

The driveway paving process, especially when replacing it with a new asphalt surface, is a transformative journey that enhances the aesthetics and functionality of your home’s entrance. By following these steps and enlisting the help of experienced professionals, you can enjoy a durable, visually appealing driveway that adds value to your property for years to come.

Share Post: